Difference between revisions of "W4:Online"
(→D2RP&O for Interactive Urban Furniture) |
|||
| (One intermediate revision by one user not shown) | |||
| Line 1: | Line 1: | ||
__NOTITLE__ __NOTOC__ | __NOTITLE__ __NOTOC__ | ||
| − | =='''D2RP&O for Interactive Urban Furniture'''== | + | |
| + | =='''MSc2 UF 2021: D2RP&O for Interactive Urban Furniture'''== | ||
<div style="height:30px; width: 850px; margin:0px; padding: 0px; padding-top: 20px; border: 0px;"> | <div style="height:30px; width: 850px; margin:0px; padding: 0px; padding-top: 20px; border: 0px;"> | ||
| Line 23: | Line 24: | ||
</div> | </div> | ||
<br> | <br> | ||
| + | |||
=='''TUTORIALS'''== | =='''TUTORIALS'''== | ||
Latest revision as of 07:56, 18 January 2024
MSc2 UF 2021: D2RP&O for Interactive Urban Furniture
TUTORIALS
The following tutorials give a brief introduction to certain tools in Rhino and Grasshopper. A design for urban furniture is modelled and a voronoi structure is generated using the human body, structural analysis and requirements from the 3D printer to inform the geometry.
The tutorials are separated in two main parts: 1. Urban Furniture Modelling and 2. Voronoi Structure.
The first part consists of videos of recorded Rhino sessions with explanatory text. When the video is sped up, it means the task that is being explained is repetitive. The main speed of the video can be adjusted in the right-bottom.
The second part consists of Rhino/Grasshopper files as well as videos. The videos aim to explain the design on a strategic level by visualizing it diagrammatically. The grasshopper files show how it can be scripted. This is done by creating titled groups and subgroups to order the file, with additional textual descriptions. In many of the groups a visualization subgroup is added which can be turn on or off.
Because the structural analysis plug-in for Grasshopper 'Karamba' is not working with the relatively new Rhino 7 yet, this file needs to be opened with Rhino 6.
Part 1. Urban Furniture Modelling
Rhino: Dummies.3dm
https://grabcad.com/library/jarde-dummy-1
Part 2. Voronoi Structure
Rhino: Structural Analysis Rhino6.3dm
Grasshopper: Structural Analysis.gh
Rhino: Voronoi Structure.3dm
Grasshopper: Structural Analysis Field.gh and Voronoi Structure.gh
The following tutorials show how to generate a single continuous toolpath from any cellular geometry. The geometry used in these tutorials are derived from here: http://cs.roboticbuilding.eu/index.php/2021W3:Online, but can be replaced with any cellular geometry.
Rhino: Toolpaths.3dm
Grasshopper: Toolpaths.gh and Continuous Toolpath.gh
Q&A TUTORIALS
Grasshopper Conventions
Described here are some drawing conventions we use in the Robotic Building Lab for Grasshopper. The aim is to create clear organizational structures and descriptions of how and why a script is developed in a certain way so that it is easy to understand. A template using these conventions is provided here:
File:1.GH Conventions-GH Template.gh
Organisation
The Grasshopper scripts are organized according to certain principles considering the layout.
Every script starts with a title and abstract:
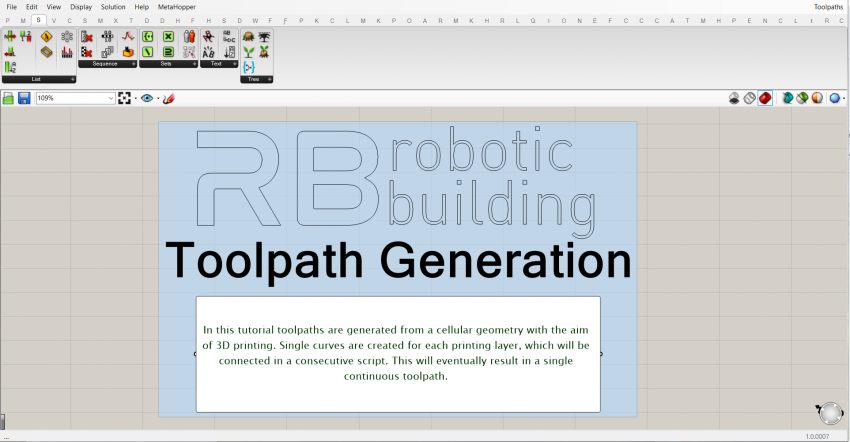
This should be a general description of the script does and for what purpose. Make sure to save the file while in this view so this is visible when the file is openend.
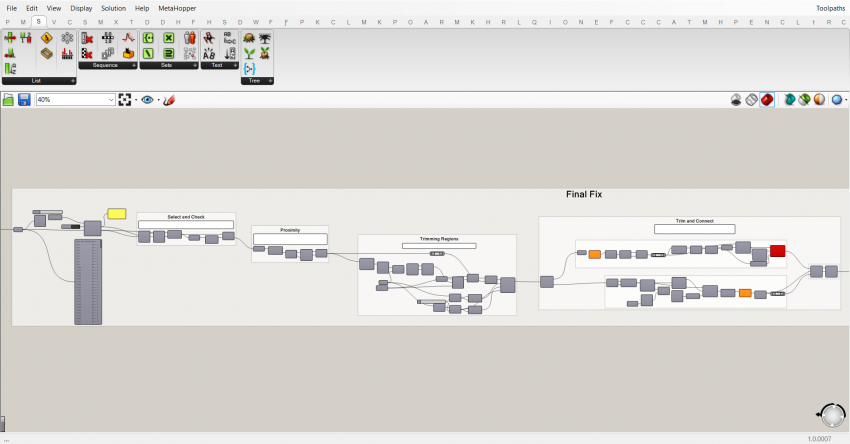
The components are organized and ordered in groups and subgroups. Every group has at least a title. If required it also contains a textual description in a panel. In general, the groups are colored white. The smallest groups are titled in the group header, a level above that by a scribble with font-size 25, and the main groups with a scribble with font-size 50. All the wires which reduce the readability of the script are set to display 'Hidden'.
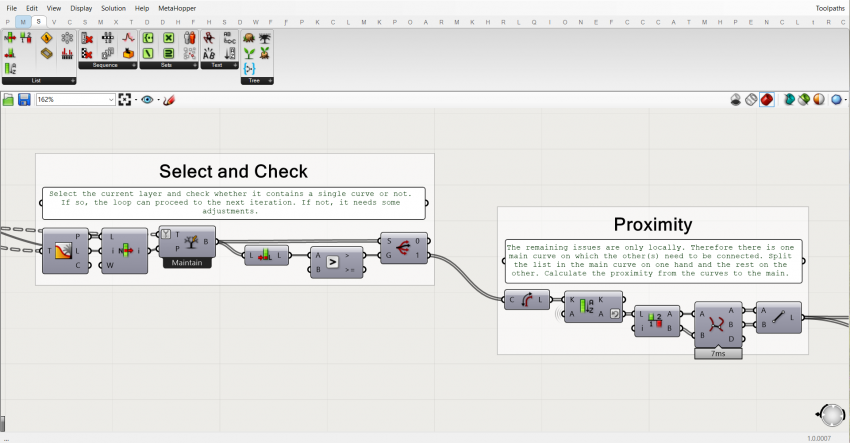
The panels containing the textual descriptions are also white:
Data Management
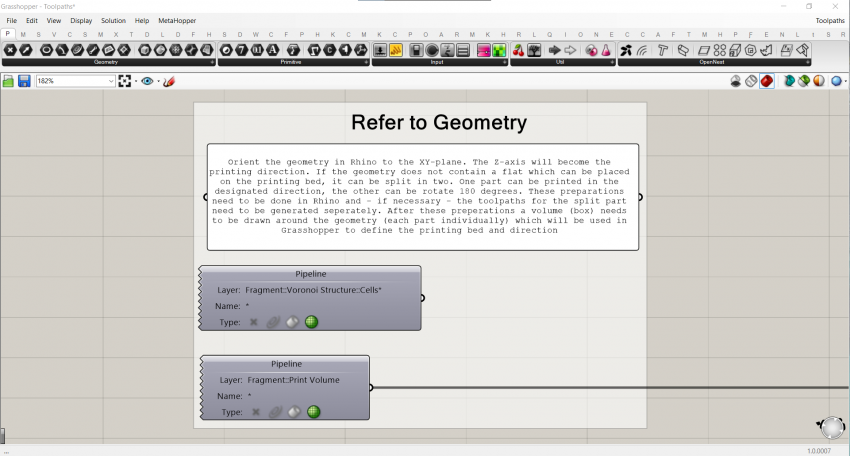
Often the script is part of a sequence of scripts, each with a specific task. To create a fluid workflow and be sure the correct data is referred to, certain rules are maintained. Geometry is baked using the baking components of the plug-in Elefront. A layer and a name is assigned, so that the geometry is easy to be referred to in succeeding scripts and it is overwritten each time the component bakes.
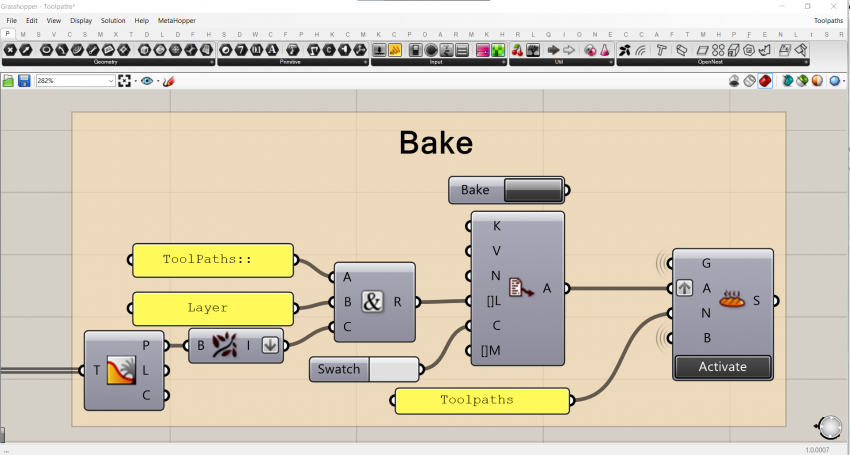
In this way, the geometry can be referred to using the geometry pipeline, and is updated accordingly. Always use the geometry pipeline and the combination between Rhino- and Grasshopper files, since internalizing geometry in a Grasshopper container greatly affects the speed of the script.
